


The Design was also distributed across a t-shirt by hand drawing the modified illustration to fit the vertical t-shirt length. The t-shirt was edited using clothing markers that shrink the design to the t-shirt and remain permanent once the t-shirt has been ironed. This hand-drawn personal effect also ties in with the old feel of the entire piece.


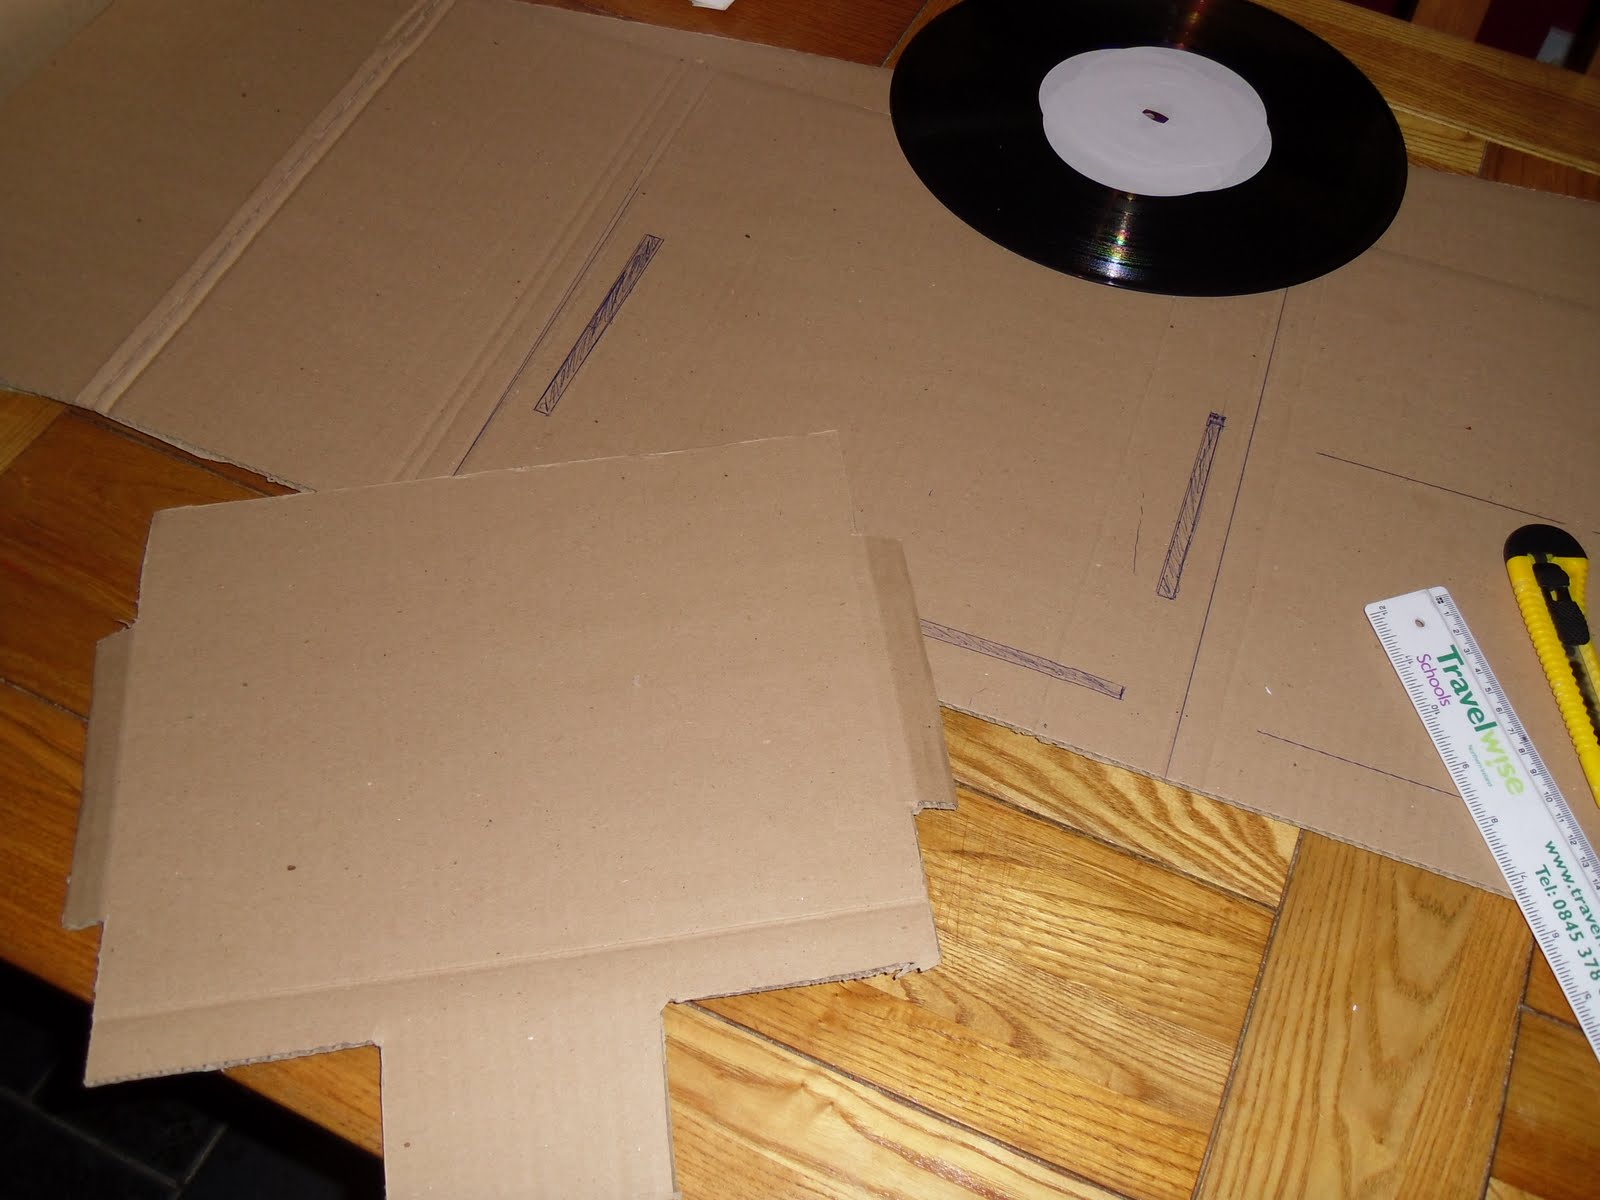
It was then time to create the cardboard net for the record sleeve and memorabilia housing. The net consisted of 3 identically sized squares:
- The left one for the front cover
- The middle one to house the vinyl and
- The right tab which folds inwards to house the required memorabilia


The spines and folds were created by marking each fold line on the cardboard and bending it around a square metal rod. The space for each item of memorabilia was then determined by their size and some markings for the cuts to be made to insert the required pockets to hold these pieces were made.


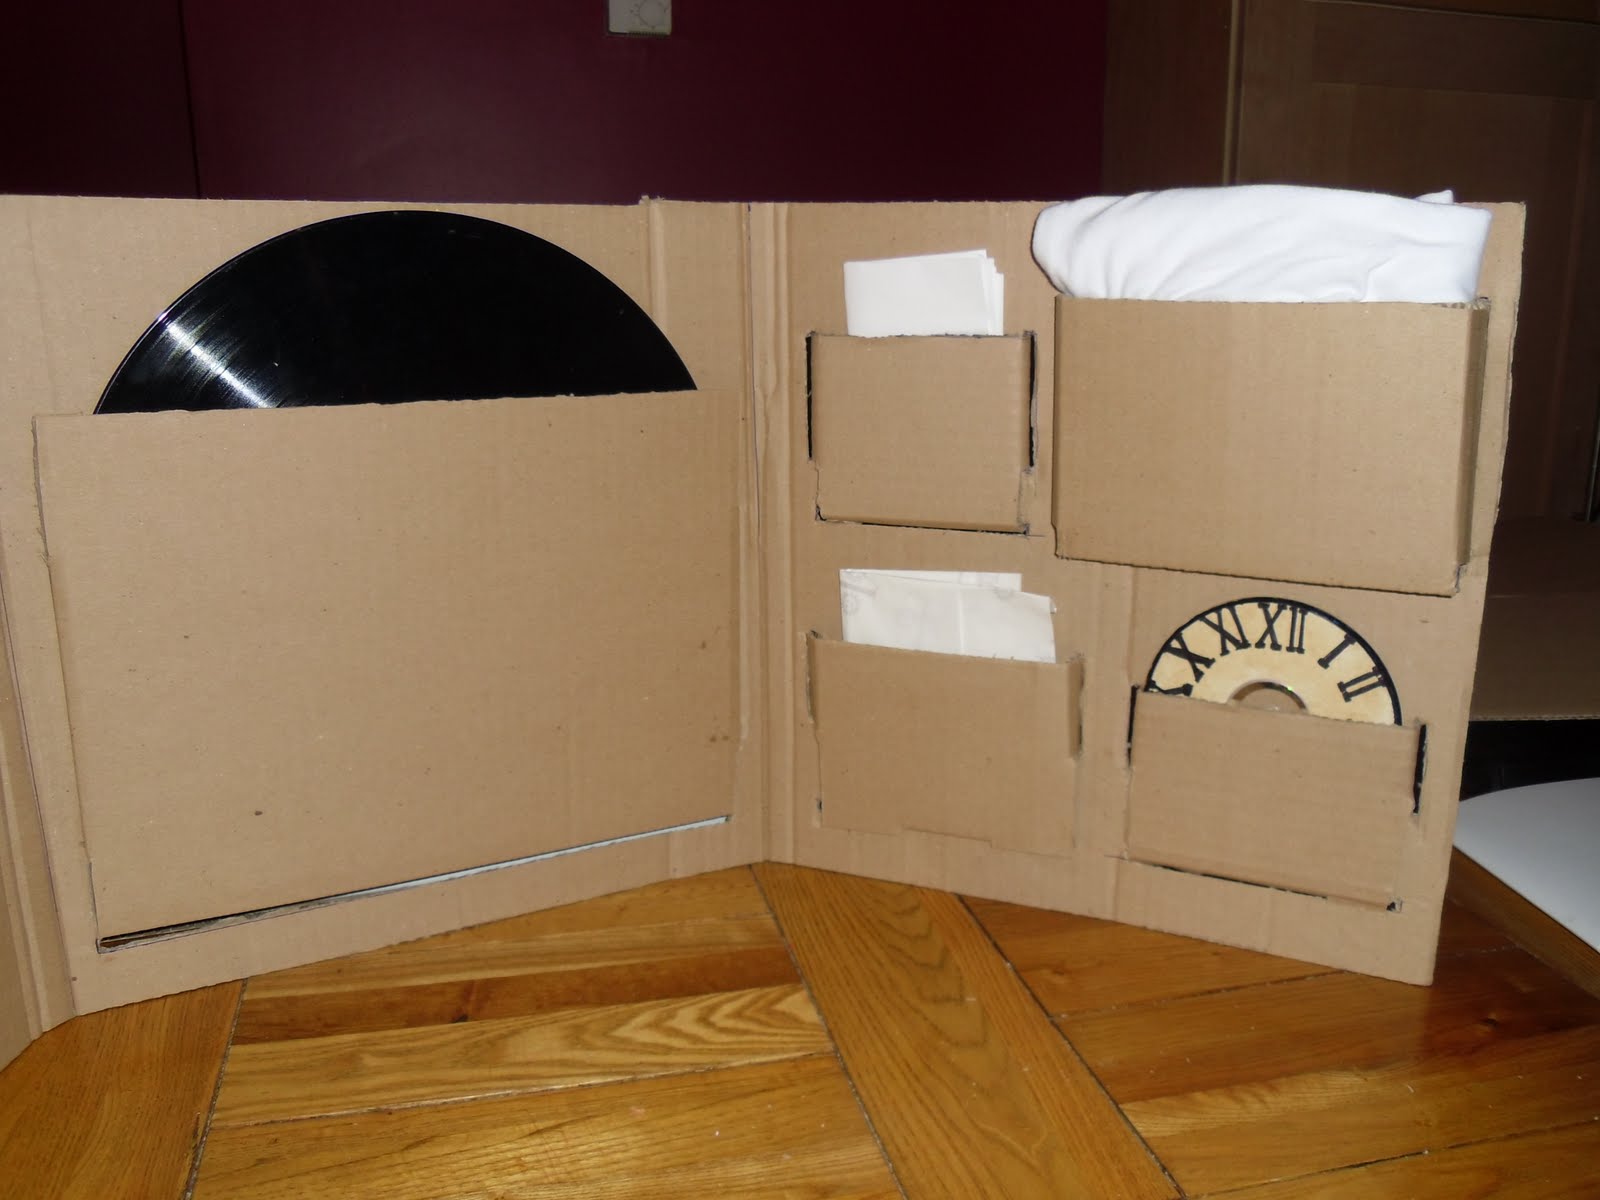
The front piece to hold the record in place was made by creating a separate tabbed piece of cardboard and attaching it to the centre panel of the folded sleeve. The size of this piece was determined by the dimensions of the vinyl.


The slots for the tabbed front to fit into were cut out of the main folded piece of cardboard. The tabs were folded when inserted through the slots and glued in place at the rear so as to be out of sight of the user.


The same process was then completed for the rest of the pockets on another folded section of the main cardboard piece. Each element had a specifically sized net constructed to hold it, the required slots were cut and the tabs pushed through and glued at the rear.


All the memorabilia was then placed into its required place within the sleeve to see how the finished piece would look when the user opened it up. The illustrated front cover (with cardboard background) was then attached to complete the prototype piece.


No comments:
Post a Comment